craf
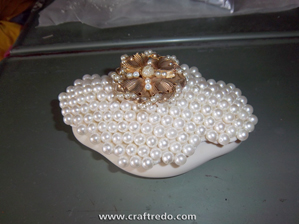
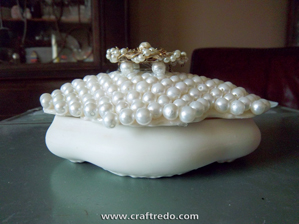
We had a very special bachelorette party to attend for a very special dear friend. Rather than giving her a useless gag gift, we wanted to give her something she could actually use. (Don’t get us wrong – we are ALL about gag gifts, we just wanted to do something a little more special this time). That’s how this craft came about.
craftredo
We gave her a suggestion with the gift – we mentioned she could keep her wedding jewelry in the jar.
craftredo
craftredo
craftredo
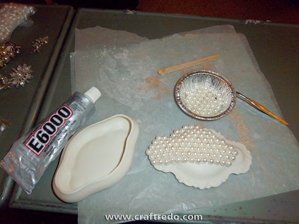
You will need:
- Jar with lid – porcelain, ceramic, glass, wood, metal, etc. (We found our jar at an estate sale. It was an older porcelain piece. We knew the previous owner, she would have loved the idea of this going to a future bride.)
- E-6000 Adhesive
- Popsicle sticks
- Wax paper
- Tweezers
- Beads (we purchased a string of beads at a sale – they were imitation pearls)
- Bowl to place pearls in
- Vintage broach (we found our broach in a free box at a garage sale, the clasp was broken)
craftredo
craftredo
craftredo
1. Prepping for the project – Wipe down the surface of your lid with a dry cloth. Place pearls into bowl (if pearls are on a string, separate them from string). Squirt a dollop of E-6000 onto a smaller piece of wax paper. Be sure to cover your work surface area.
craftredo
craftredo
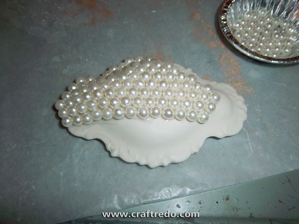
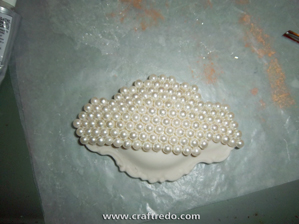
2. With a popsicle stick, apply adhesive to top of lid. Lay pearls onto the adhesive – tweezers and another, clean, popsicle stick will come in handy when positioning the pearls. Pearls may need to be held in place a while to allow the adhesive to take hold. Depending on the curvature of the lid, the pearls may have a tendency to slip around a bit, so be sure to check on the pearl placement periodically. Adhesive will start to set within 10-20 minutes, so you DO have SOME time to move the pearls back into their places before the adhesive fully sets. Cover entire lid with pearls. We found it best to work in rows. Allow adhesive to set overnight.
craftredo
craftredo
craftredo
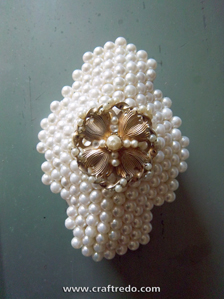
3. Attach a few pearls to the back of the broach (we attached 4, 1 in each corner) – this gave us a good base so we could attach the pearls onto the lid of the jar.
Allow to fully dry.
craftredo
craftredo
craftredo
craftredo
Don’t limit yourself to just pearls – decorative beads, rhinestones, sequins, etc would work well too.

